
Table of Contents
- DIY vs Professional Film Restoration: Time, Tools and Trade-offs
- Chemical vs Digital Restoration: Which Path Suits Faded Footage
- Cost-Benefit Analysis: When Restoration Is Worth It in 2026
- Best Practices for Storing Vintage Film Before and After Restoration
- Sound-on-Film and Archival Standards: What Most Guides Skip
- What Drives the Cost to Restore Faded Super 8 Film in 2026
- Super 8 Film Digitisation Services: What You Get for Your Money
- DIY vs Professional Film Restoration: Time, Tools and Trade-offs
- Chemical vs Digital Restoration: Which Path Suits Faded Footage
- Cost-Benefit Analysis: When Restoration Is Worth It in 2026
- Best Practices for Storing Vintage Film Before and After Restoration
- Sound-on-Film and Archival Standards: What Most Guides Skip
- Frequently Asked Questions
DIY vs Professional Film Restoration: Time, Tools and Trade-offs
Chemical vs Digital Restoration: Which Path Suits Faded Footage
Cost-Benefit Analysis: When Restoration Is Worth It in 2026
- The DIY Break-Even, Quantified
- Australian Climate and Film Degradation
- Archival Standards for the Digital Master
- The Decision Table
Best Practices for Storing Vintage Film Before and After Restoration
Sound-on-Film and Archival Standards: What Most Guides Skip
Last Updated: September 22, 2026
What Drives the Cost to Restore Faded Super 8 Film in 2026
The cost to restore super 8 film that has faded in 2026 depends on four variables: footage length, reel condition, whether colour correction and scratch removal are included, and whether audio needs separate treatment. This guide breaks down what moves a quote up or down, when restoration is worth the money, and what to check before handing over irreplaceable family footage.
Reel Size, Footage Length and Per-Foot Pricing
The dominant pricing model is per-foot or per-reel, and reel size is the first thing a provider measures. Super 8 cartridges typically hold around 15 metres of film, while standard 8mm reels and larger gauges hold considerably more. Because scanning time scales with footage, a longer reel costs more to digitise even when image quality is identical.
Damage, Fading and How They Change the Quote
Film degradation is the single biggest variable in any quote. Film degradation is the physical and chemical breakdown of the emulsion over time, showing up as colour shift, brittleness, warping and surface damage that must be handled before scanning.
Super 8 Film Digitisation Services: What You Get for Your Money
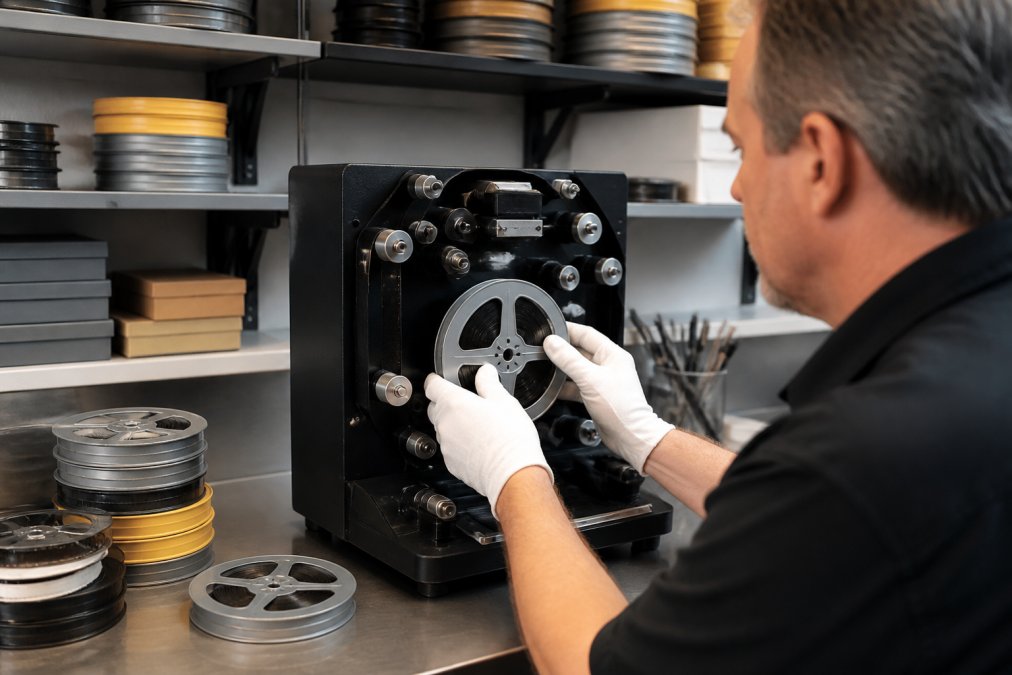
A professional digitisation service should deliver a frame-by-frame scan at a defined resolution, corrected colour, cleaned audio where it exists, and files in a format you can actually play. Anything less is a transfer, not a restoration.
Frame-by-Frame Scanning vs Continuous Scanning
Frame-by-frame scanning captures each frame as a discrete image before assembling them into motion, while continuous scanning runs the film past the sensor at speed. Frame-by-frame scanning produces a sharper, more stable result and gives the operator clean frames for colour grading and dust and scratch removal. Continuous scanning is faster and cheaper, and it shows: judder, softness and less headroom for correction.
DIY vs Professional Film Restoration: Time, Tools and Trade-offs
DIY restoration is realistic for cleaning, basic colour adjustment and file conversion. It is not realistic for frame-by-frame scanning of fragile film, audio recovery, or reconstruction of damaged sections. The trade-off is not just quality, it is the capital outlay, the learning curve, and the risk to a one-of-a-kind reel.
What a Serious DIY Setup Actually Costs
A home setup that produces a genuinely watchable scan of Super 8 is not a projector and a phone. The minimum credible kit looks like this:
- Frame-by-frame scanner or modified projector with a macro lens and capture rig: the single largest cost. Entry-level dedicated scanners sit in the low thousands; a proper frame-by-frame rig with a machine-vision camera and film transport can run past $8,000.
- Capture card or camera body capable of uncompressed or lightly compressed output: a few hundred to several thousand dollars depending on whether you already own a suitable camera.
- Editing and restoration software: colour grading, dust and scratch removal, and stabilisation tools are either subscription-based or a one-off licence. Expect ongoing cost if you use a subscription suite.
- Splicing equipment, leader, archival cans and cleaning supplies: modest per item, but they add up across a collection.
- Storage: uncompressed scans of even a few hundred feet of film consume serious drive space, and you need at least two copies.
The Time Nobody Budgets For
Scanning is the fast part. The slow parts are cleaning each reel before it touches the transport, manually removing dust and scratches where automated tools fail, colour grading faded footage shot on stocks that no longer exist, and syncing or recovering audio. A single 15-metre cartridge can absorb an evening of cleaning and grading even when the scan takes minutes, so across a family collection, the true cost of DIY is measured in weekends, not dollars.
What DIY Can Realistically Fix (and What It Can’t)
- Colour and exposure: Adjustable in editing software if the scan is good.
- Flicker reduction: Achievable with plugins on a stable scan.
- Basic trimming and titling: Straightforward.
- Physical repair of splices and tears: Requires proper splicing equipment and experience.
- Mould and water damage: Needs professional cleaning before any scan.
- Magnetic sound recovery: Needs specialised playback hardware most households do not have.
- Vinegar syndrome: Cannot be reversed at home; the reel needs stabilisation and cold storage.
The Failure Modes That Cost More Than the Scan
A home projector exerts tension and heat on film that has already lost plasticiser. Brittle splices snap, warped reels jam and tear, and mould spores transfer to the transport and then to every subsequent reel. A failed DIY attempt can destroy the only copy and contaminate the rest of the collection.
Running a damaged or warped reel through a home projector can tear the film or snap a splice permanently. If a reel feels brittle, smells of vinegar, or shows visible mould, do not test it on your own equipment.
If you want to try DIY, start with your most strong, cleanest, least valuable reel. Treat it as a calibration exercise, not a preservation project. Send the irreplaceable reels to a professional.
Chemical vs Digital Restoration: Which Path Suits Faded Footage
Chemical restoration treats the physical film, while digital restoration treats the scanned image. They solve different problems and are rarely interchangeable.
Cost-Benefit Analysis: When Restoration Is Worth It in 2026
Restoration is worth it when the footage is irreplaceable, has ongoing family value, and the reel can still be safely scanned. It is poor value when the footage is duplicated, generic, or deteriorated past the point where a scan yields a usable image, though 2026 pricing and technology shift the calculus in ways most guides do not address.
The DIY Break-Even, Quantified
The most common question is whether to buy equipment or outsource. The answer depends on volume:
- Under 10 reels: outsourcing is almost always cheaper. The capital cost of a frame-by-frame rig, software and storage exceeds the per-reel professional rate.
- 10 to 30 reels: the decision hinges on whether you value your time. Equipment costs approach parity with professional pricing, but the learning curve and restoration hours are real.
- Over 30 reels: DIY can be cheaper on paper, but only if you are prepared to invest the weekends and accept that your first scans will not match a professional’s.
Australian Climate and Film Degradation
Australia’s climate is hard on film. High summer temperatures, humidity swings in coastal areas, and prolonged inland heat accelerate the chemical processes behind colour fade and vinegar syndrome. Film stored in a garage, shed or roof space through an Australian summer can deteriorate faster than the same film in a temperate European cellar. This matters because:
- Reels that have been stored poorly are more likely to need professional cleaning and stabilisation before scanning, which raises the quote.
- The window for cost-effective restoration is shorter than overseas guides assume.
- Cold, dry, stable storage after restoration is not optional, it is what protects the investment you just made.
Archival Standards for the Digital Master
Once scanned, the digital file becomes the master. For long-term preservation, capture at the highest practical resolution, retain an uncompressed or lightly compressed master, and generate MP4 viewing copies for everyday playback. A low-bitrate MP4 is fine for sharing, but it is not an archival master. For a collection you intend to keep for decades, plan for:
- A high-bitrate or lossless master file stored on at least two drives, with one kept off-site or in cloud storage.
- A checksum or file-integrity routine so you can detect bit rot before it spreads.
- A migration plan, storage media and codecs change, and a file that is readable today may not be in 15 years.
The Decision Table
| Situation | Recommended Path | Why |
|---|---|---|
| Unique family footage, good condition | Full scan and digital restoration | Highest return, lowest risk |
| Unique footage, mould or damage | Professional clean, then scan | Scanning damaged film risks total loss |
| Duplicated or low-value content | Basic transfer only | Correction cost outweighs benefit |
| Magnetic or optical sound present | Professional handling | Home equipment cannot read it safely |
| Large collection (30+ reels), strong film | DIY scan, professional grading | Balances cost and quality |
| Film stored in hot or humid conditions | Professional assessment first | Degradation may be advanced |
A useful rule: if you would be devastated to lose it, the restoration cost is almost always justified. If you would shrug, a basic transfer is enough. And if the reel has been sitting in an Australian shed for 20 years, assume it needs professional eyes before you make any decision.
Best Practices for Storing Vintage Film Before and After Restoration
Storage determines how much restoration your film needs and how long the result lasts. The best practices for storing vintage film come down to stable temperature, low humidity, and vertical storage in archival containers.
- Store reels upright, never stacked flat, to avoid pressure damage to the emulsion.
- Keep film away from heat, direct sunlight and fluctuating humidity.
- Use archival-quality boxes and cans rather than original cardboard.
- Keep the digital copies in at least two locations, with one off-site or in cloud storage.
- Label everything with dates and contents while you still remember them.
The thing nobody tells you about film preservation is that the digital file is now the master. Once scanned, store the highest-quality version untouched and make your edited copies from it. Re-scanning a degraded original later will never match what you captured the first time.
Sound-on-Film and Archival Standards: What Most Guides Skip
Most pricing guides ignore sound entirely, a mistake for anyone with sound-era home movies. Super 8 sound film carries a magnetic sound stripe, while some formats use an optical track printed alongside the image. Magnetic sound requires increasingly rare playback hardware, and the stripe can degrade independently of the picture.
Frequently Asked Questions
How much does it cost to get Super 8 film digitised in 2026?
Pricing depends on reel size, total footage length, film condition and the output format you choose. Most services charge per foot of film or per reel, with additional fees for heavy fading, splicing repairs or sound restoration. Showbiz Video Productions offers a quote before any work begins, so you know the full cost upfront.
Does Super 8 film degrade over time if left in storage?
Yes. Super 8 film is prone to fading, colour shift and emulsion breakdown, especially when stored in hot, humid conditions. The dyes in colour film are the first to go, often turning footage pink or magenta before the image itself is lost. Cool, dry, dark storage slows degradation, but it does not stop it, which is why digitising sooner rather than later protects the image.
Can faded Super 8 film be fully restored to its original colour?
Not always, but colour grading and digital restoration can recover a lot. Mild fading responds well to exposure correction and colour grading, while severe dye loss may leave some scenes looking muted. A professional scan at high resolution gives the best starting point, because more colour data is captured before restoration begins.
What is the difference between film digitisation and film restoration?
Digitisation is the transfer of film to a digital file, such as MP4 at 1080p HD or 4K resolution. Restoration goes further, using software to remove dust, scratches and flicker, stabilise the image and correct colour. Many services offer digitisation as standard and restoration as an add-on, so ask what is included before you compare quotes.