
Table of Contents
- Why Saving Your VHS Tapes Matters Now
- Signs Your VHS Tapes Are Degrading
- DIY VHS to Digital Conversion: Step-by-Step
- Professional VHS to Digital Conversion Service
- How to Store VHS Tapes Long Term
- Understanding the Cost of Digitising VHS Tapes
- Choosing Your Digital Format and Storage
- Conclusion
Last Updated: August 20, 2026
Why Saving Your VHS Tapes Matters Now
Your VHS collection is degrading right now. Every year, the magnetic coating becomes more brittle, colours shift, and recovery chances drop. Once a tape reaches critical deterioration, no professional equipment can restore what’s lost.
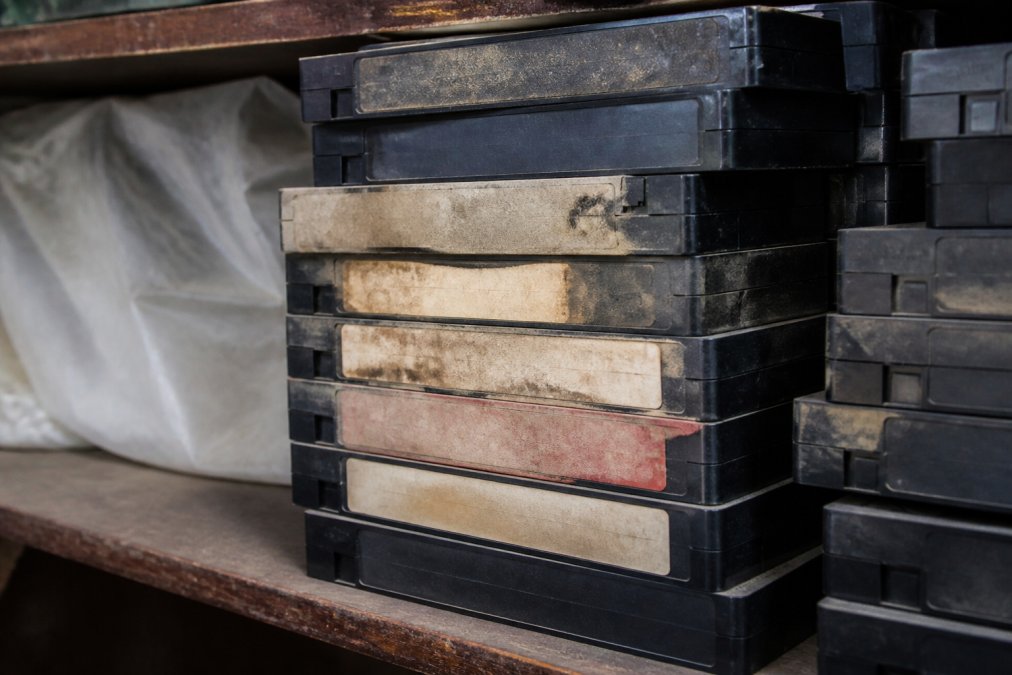
VHS tapes contain irreplaceable memories, family holidays, children’s first words, weddings, captured before cloud backup existed. If you wait too long, recovery becomes impossible. At Showbiz Video Productions, we’ve digitised thousands of collections over 20 years. Families who act quickly get perfect digital copies. Those who wait often find key tapes degraded beyond recovery. The difference between success and loss can be measured in months, not years.
This guide covers everything you need to know about preserving your collection, whether you digitise yourself or work with professionals.
Signs Your VHS Tapes Are Degrading
VHS tape degrades at different rates depending on storage conditions. A tape kept cool, dry, and dark lasts longer than one exposed to heat, humidity, and sunlight. But even in ideal conditions, VHS is a consumable format.
Watch for these warning signs:
Playback issues: The picture breaks up, freezes, or drops frames. Colour shifts toward red or pink. Audio distorts or drops out. These indicate the magnetic coating is losing signal integrity.
Physical damage: The plastic casing is warped or cracked. The tape inside is loose or tangled. You see mould, mildew, or white powdery substance on the tape or casing. Mould indicates moisture exposure and likely permanent damage.
Tape slipping: You hear grinding sounds or the picture jitters during playback. The tape no longer grips properly to the playback heads, signalling material breakdown.
Storage damage: The tape has been exposed to heat (attics), moisture (basements), direct sunlight, or stored vertically under pressure. Any of these accelerates degradation.
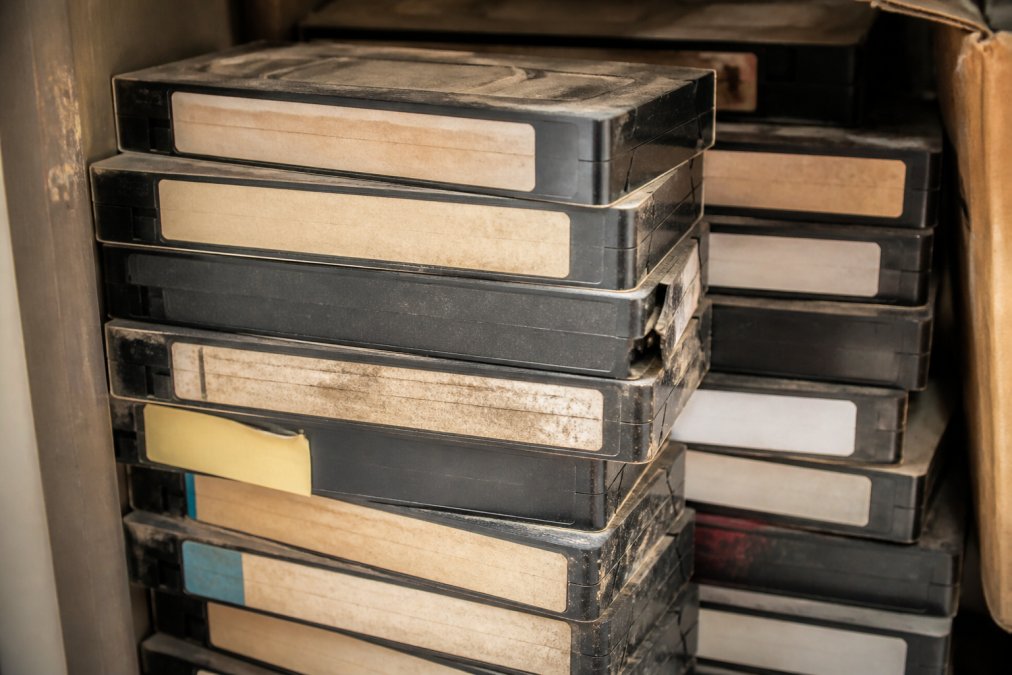
Critical point: if your tape still plays, even imperfectly, you can recover it. Once it stops playing entirely, recovery becomes exponentially harder or impossible. If you’ve noticed any of these signs, act now.
DIY VHS to Digital Conversion: Step-by-Step
Converting VHS to digital yourself is possible with the right equipment and realistic quality expectations. DIY works best for tapes in good condition where you’re willing to invest time in technical setup.
What You’ll Need
Playback equipment: A working VCR that reliably plays your tapes. Test it thoroughly before starting.
Video capture device: A USB video grabber (analogue-to-digital converter) connects to your computer and captures the VCR’s signal. These cost $30-$100 and support composite video input (red, white, yellow cables) or S-Video.
Cables: Composite video cables (RCA: red, white, yellow) connect the VCR to the capture device. If your VCR uses S-Video, get an appropriate adapter.
Computer: A reasonably modern computer (Windows or Mac from the last 5-7 years) with at least 8GB RAM and USB 3.0 ports. Capture is CPU-intensive; older computers may struggle.
Video capture software: Free options include OBS Studio or VirtualDub. Paid software like Roxio Creator or Adobe Premiere offers more features. The software controls the capture card and records the video signal to your hard drive.
Storage: A high-capacity external hard drive (at least 500GB, ideally 1-2TB). A single 2-hour VHS tape produces roughly 4-6GB of digital video.
The Conversion Process
Step 1: Set up hardware: Connect the VCR to the USB video grabber using composite cables. Connect the grabber to your computer via USB. Install drivers from the manufacturer’s website. Open your capture software and configure it to recognise the device.
Step 2: Test the signal: Play a section of a non-essential tape. Watch the preview in your software. You should see clear video. If the image is distorted, colours are wrong, or there’s no signal, troubleshoot cable connections and verify the VCR output setting.
Step 3: Clean the VCR heads: Before capturing important tapes, clean the VCR’s video heads using a head-cleaning kit ($10-$20). A dirty playback head produces poor-quality files.
Step 4: Configure capture settings: Set video resolution (720×480 for NTSC or 720×576 for PAL), frame rate (29.97fps for NTSC, 25fps for PAL), and bitrate (4-8 Mbps for good quality). Higher bitrate means larger files but better quality. Choose H.264 codec for wide compatibility.
Step 5: Capture the tape: Insert the tape, press record in your software, and play it to completion. Do not stop mid-tape.
Step 6: Save and name the file: Save with a descriptive name (e.g., "Family_Holiday_1995_Christmas.mp4"). Store on your external hard drive and create a backup copy if possible.
Step 7: Verify the output: Play the captured file on your computer. Check video quality, audio clarity, and absence of dropouts or glitches. If quality is poor, adjust capture settings and recapture.
Common Mistakes to Avoid
Using wrong cable connections: Red connects to audio right, white to audio left, yellow to video. Check your VCR and capture device manuals.
Capturing at too low bitrate: A 2 Mbps bitrate produces pixelated video. Use at least 4 Mbps, ideally 6-8 Mbps.
Not deinterlacing: VHS is interlaced video. Modern displays are progressive. Enable deinterlacing in your software to avoid visible scan lines.
Skipping VCR head cleaning: A dirty playback head produces noisy, distorted video. Cleaning takes 10 minutes and costs $15.
Capturing damaged tapes without testing: Test problematic tapes on a cheap VCR first, not your primary machine.
Not backing up digital files: Hard drives fail. Create at least two copies of important conversions, ideally in different locations.
Professional VHS to Digital Conversion Service
DIY conversion has real limitations. You need working equipment, technical knowledge, and time. Professional services handle all of this.
Professional-grade capture equipment produces higher quality output than consumer USB grabbers. Video heads are cleaned and maintained regularly. Technicians know how to handle damaged or difficult tapes. If something goes wrong, there’s accountability.
Professional services also handle format variations DIY setups often can’t manage. If you have VHS, VHS-C (camcorder tape), 8mm film, or vinyl records, a professional service can process all of them with specialised equipment. You don’t need to buy multiple converters or learn different processes.
The workflow is straightforward: drop off or post your tapes, the service digitises them, and you receive digital files on a hard drive or USB stick. Many services offer same-day or next-day turnaround. Additional services like colour correction, audio restoration, or editing to remove blank sections are often available.
The main trade-off is cost. Professional digitisation costs more per tape than DIY. However, if your tapes contain irreplaceable memories and you want guaranteed quality, the cost is worth it. A failed DIY conversion loses the tape forever. A successful professional conversion is money well spent.
Showbiz Video Productions offers transparent pricing starting at $6 per tape, with same-day turnaround available for most jobs. Get a quote directly from their website for your specific collection.
How to Store VHS Tapes Long Term
Whether keeping original tapes as backups or waiting to digitise them, proper storage extends lifespan significantly.
Temperature and humidity: Store tapes in a cool, dry place. Ideal conditions are 15-21°C and 30-40% relative humidity. Avoid attics (too hot), basements (too damp), garages (temperature swings), and sheds (weather exposure). A climate-controlled closet is ideal. Never store in direct sunlight.
Orientation: Store tapes upright, like books on a shelf. Never stack flat or at an angle. Pressure causes warping and magnetic coating shift.
Spacing: Leave 2-3cm between tapes so air circulates. Tightly packed tapes create localised humidity pockets.
Protective cases: Keep tapes in original plastic cases. Replace damaged cases with archival-quality VHS cases. Avoid cardboard boxes; they absorb moisture.
Labelling: Write contents and date clearly on labels using permanent marker. Include format (NTSC or PAL) if non-standard for your region.
Inventory: Keep a written or digital list of tape contents. This helps prioritise digitisation and prevents losing track of important content.
Periodic checks: Every 12 months, inspect tapes visually for mould, warping, or internal slipping. If problems appear, prioritise that tape for digitisation immediately.
Long-term storage buys time but doesn’t stop degradation. Even in perfect conditions, VHS eventually fails. Digitisation is the only real preservation method.
Understanding the Cost of Digitising VHS Tapes
Digitisation costs depend on the number of tapes, quality level, format, and whether you use professional services or DIY.
DIY costs: A USB video grabber costs $30-$100. Video capture software ranges from free to $100+. A 1TB external hard drive costs $50-$80. If you already own a computer and VCR, total equipment investment is $80-$180. Per-tape costs are essentially zero (electricity and your time). However, DIY introduces risk: mistakes lose the tape, and equipment failure wastes hours.
Professional service costs: Pricing depends on the provider and number of tapes. Most services charge per tape, with volume discounts. Additional services like colour correction or audio restoration add cost. Pricing varies by region; check local options for current rates.
Showbiz Video Productions offers transparent pricing starting at $6 per tape, with same-day turnaround available for most jobs. Get a quote directly from their website to see pricing for your specific collection.
Format and storage costs: A 2-hour VHS tape produces 4-6GB of digital video. Storing files on your computer’s hard drive is free but risky. Cloud storage (Google Drive, Dropbox, iCloud) costs $2-$10 monthly for 100-200GB. External hard drives for backup cost $50-$100. The most reliable approach combines local storage, external backup, and optional cloud storage.
The real cost calculation weighs irreplaceable memories against preservation costs. A professional service guaranteeing quality is often the better choice, even if it costs more upfront.
Choosing Your Digital Format and Storage
Once digitised, decide what format to keep files in and where to store them.
Video formats: MP4 is most widely compatible, playing on computers, phones, tablets, and modern televisions. It uses H.264 compression for good quality at reasonable file sizes. MOV (Apple’s format) is similar and widely supported. AVI is older and less efficient; avoid it. MKV offers flexibility but less universal support.
For archival purposes, some experts recommend keeping files in less-compressed format (ProRes or DNxHD) as a master copy, then creating MP4 versions for playback. This preserves maximum quality but requires more storage.
Resolution and quality: VHS has roughly 480p or 576p resolution depending on NTSC or PAL. Digitising at higher resolution doesn’t improve quality; it just creates larger files. Stick with 720×480 (NTSC) or 720×576 (PAL). Bitrate should be 4-8 Mbps for good quality without excessive file size.
Storage strategy: Store digital files in multiple locations:
- Primary storage: an external hard drive connected to your computer
- Backup storage: a second external hard drive stored separately (ideally in a different location)
- Optional: cloud storage for additional redundancy
This 3-2-1 backup strategy (3 copies, 2 different media types, 1 offsite) is the standard for digital preservation. Hard drives fail; multiple copies ensure you don’t lose everything.
Playback options: Once digitised, videos play on any modern device. Connect an external hard drive to your TV via USB or HDMI. Stream files from cloud storage to a smart TV. Share digital files with family via email or shared drives. Digital format’s accessibility is one of its biggest advantages over VHS.
Frequently Asked Questions
How can I convert my old VHS tapes to digital format?
You have two main options: DIY conversion using a USB video grabber, composite-to-HDMI adapter, and capture software, or professional VHS to digital conversion services. DIY requires a working VCR, computer, and technical patience; expect 2-3 hours per tape. Professional services handle the entire process, including de-interlacing and quality restoration, typically within days. For tapes showing signs of degradation or if you lack technical equipment, professional conversion preserves video quality and ensures archival-grade digital files in MP4 or other formats.
What is the best way to save old VHS tapes?
The best approach combines immediate preservation with digital migration. First, store remaining tapes in cool, dry conditions away from magnetic fields to slow degradation. Simultaneously, digitise your collection using either DIY methods for simple tapes or professional services for valuable or damaged footage. Professional digitisation offers superior results: technicians clean video heads, adjust tracking, handle de-interlacing, and deliver high-quality digital files. For irreplaceable family memories, professional handling reduces risk of signal loss and ensures long-term accessibility across modern devices.
How long do VHS tapes last before they degrade?
VHS tapes typically remain playable for 15-25 years under ideal storage conditions, though quality begins declining after 10-15 years. Factors affecting lifespan include temperature fluctuations, humidity, exposure to magnetic fields, and how often tapes were played. Signs of degradation include picture distortion, audio dropout, tape stretching, and mould growth. Tapes stored in attics, basements, or near electronics degrade faster. To preserve your collection, digitise now rather than waiting, older tapes become increasingly difficult to convert as oxide layers flake off and mechanical playback devices become scarce.
Is it worth saving old VHS tapes?
Yes, especially for family videos, home movies, and irreplaceable recordings. Once digitised, your memories become accessible on modern devices, shareable with family, and protected from physical degradation. Digital files can be backed up to cloud storage and external hard drives, ensuring preservation for generations. The cost of digitisation is modest compared to the sentimental value of family memories. Even damaged tapes are often worth recovering, professional services can restore heavily degraded footage, retrieving video that might otherwise be lost forever.
Preserving your VHS collection now prevents heartbreak later. Whether you choose to digitise yourself or work with professionals, the key is to act before the tapes degrade beyond recovery. Showbiz Video Productions has digitised thousands of family collections with professional-grade equipment and same-day turnaround. Your memories deserve to be preserved in a format that will last. Get a quote and protect your irreplaceable moments for generations to come.
This article was written using GrandRanker