
Table of Contents
- Why Digitise Old Film Reels Before It’s Too Late
- Understanding Film Formats: 8mm, Super 8, and 16mm
- Recognising the Signs of Vinegar Syndrome in Film
- Professional Transfer Services vs DIY Digitisation
- How to Store Super 8 Film and Other Formats Properly
- The Cost of Digitising 8mm Film: What to Expect
- Your Step-by-Step Plan to Save Old Film Reels
- Conclusion
- Frequently Asked Questions
Last Updated: September 26, 2026
Why Digitise Old Film Reels Before It’s Too Late
Your old film reels are slowly disappearing. Not physically, they’re sitting in a box somewhere. But chemically, they’re degrading. Every year that passes, more of your family’s memories become harder to recover. The best way to save old film reels is to act now, before the damage becomes irreversible.
At Showbiz Video Productions, we’ve helped hundreds of families preserve their most treasured memories. Film doesn’t last forever. Unlike digital files, which can be copied endlessly, physical film stock deteriorates. The emulsion breaks down. The colours fade. Sometimes the film becomes brittle and snaps. Once that happens, no amount of professional equipment can recover what’s lost.
The good news? You still have time. Film that looks fine to the naked eye can often be digitised beautifully. But waiting another five years might mean waiting too long.
Film degrades silently. By the time you notice a problem, some of your memories may already be gone. Digitising now protects what you have.
Understanding Film Formats: 8mm, Super 8, and 16mm
Film comes in different sizes, and knowing which one you have matters. The three most common home movie formats are 8mm, Super 8, and 16mm.
8mm film is the oldest and smallest. It’s about a third of an inch wide. Most 8mm reels came from cameras made in the 1950s and 1960s. The film has a single sprocket hole on each side. If your reels are small and narrow, you likely have 8mm.
Super 8 arrived in the 1960s and became the standard for home movies through the 1980s. It’s slightly wider than 8mm and has larger sprocket holes. Super 8 film typically has better colour quality and sharper images than 8mm. Most home movie collections include Super 8 reels.
16mm film is noticeably wider and heavier. It was used for more serious amateur filmmaking and professional work. You’ll recognize it immediately, it’s roughly twice the width of Super 8. 16mm reels are less common in home collections but still appear regularly.
The format matters because different equipment is needed to digitise each one. A device that handles Super 8 won’t work for 16mm. When you contact a digitisation service, telling them your film format helps them prepare the right machinery.
Check your film reels for markings. Many have the format printed on the reel itself or on the original film canister. If you’re unsure, measure the width, 8mm is about 8 millimetres wide, Super 8 is about 8.5 millimetres, and 16mm is roughly 16 millimetres.
Recognising the Signs of Vinegar Syndrome in Film
Vinegar syndrome is the enemy of old film. It’s a chemical process that destroys film from the inside out. Once it starts, it accelerates. And the worst part? You can smell it coming.
Vinegar syndrome happens when the acetate base of the film breaks down and releases acetic acid. This acid eats away at the emulsion layer where your images are stored. The film becomes brittle, shrinks, and eventually becomes unwatchable.
The warning signs are easy to spot:
- A vinegar smell. Open a box of old film and take a whiff. If it smells like vinegar or nail polish remover, the film is degrading. This is the first and most reliable sign.
- Brittle or warped reels. Run your fingers gently along the edge of the film. If it feels stiff or cracks slightly, vinegar syndrome is underway.
- Colour shift or fading. If the colours look washed out or have shifted toward red or brown, the emulsion is breaking down.
- Sticky or gummy texture. Sometimes the film feels slightly sticky to the touch. This means the degradation is advanced.
The speed of vinegar syndrome depends on storage conditions. Heat and humidity make it worse. A reel stored in a hot attic might degrade in five years. The same reel in a cool basement might last twenty.
If your film shows any of these signs, digitisation becomes urgent. Professional equipment can often recover good images even from moderately degraded film. But once the film becomes too brittle or the emulsion too damaged, recovery becomes impossible.
Do not attempt to clean or handle film showing advanced signs of vinegar syndrome. Brittle film snaps easily. Damaged reels should go straight to a professional digitisation service.
Professional Transfer Services vs DIY Digitisation
You have two paths: hire a professional or do it yourself. Each has real trade-offs.
Professional services handle the entire process. You send your reels or drop them off. The service cleans the film, digitises it frame-by-frame using professional equipment, and delivers the digital files. You get high-quality output without any technical work.
The advantages are clear. Professional digitisation uses industrial-grade scanners that capture far more detail than consumer equipment. The technicians know how to handle fragile film safely. They can repair minor damage and colour-correct the footage. And you get the peace of mind that comes with handing your irreplaceable memories to experts.
The trade-off is cost and turnaround time. Professional services vary widely in price, depending on film length, format, and restoration options. Turnaround typically takes weeks, though faster options exist.
DIY digitisation means buying equipment and doing the work yourself. You control the timeline and the output. You keep your reels in your hands throughout the process.
Consumer digitisers like the Wolverine MovieMaker-Pro or Kodak Reels Digitiser cost between $550 and $600 AUD. They’re designed for home use and require no computer or special software. You feed the film through, and the device saves the digital file to an SD card.
The advantage is control and no shipping risk. You see exactly how your film is handled. There’s no waiting for a service to process your order.
The disadvantages matter. Consumer equipment captures less detail than professional scanners. The process is slow, digitising a 50-minute reel takes hours of hands-on work. You need to learn how to thread the film, adjust settings, and troubleshoot problems. And if something goes wrong, you’re responsible for fixing it.
For small collections or test footage, DIY equipment makes sense. For large collections or fragile film, professional services are worth the investment. Showbiz Video Productions offers both speed and quality, with same-day turnaround available in most cases and professional-grade equipment that captures every frame with precision.
| Approach | Cost | Time | Quality | Best For |
|---|---|---|---|---|
| Professional service | Varies by length | 1-4 weeks | Archival quality | Fragile or large collections |
| DIY equipment | $550-600 upfront | Hours per reel | Good for home use | Small collections, budget-conscious |
How to Store Super 8 Film and Other Formats Properly
Proper storage slows degradation dramatically. The goal is to control two things: temperature and humidity.
Temperature should be cool and stable. Ideally, keep film between 10°C and 15°C. If that’s not possible, aim for below 20°C. Heat accelerates chemical breakdown.
Where to store film:
- Cool basements are better than attics. Attics get hot in summer and fluctuate wildly.
- Climate-controlled closets in interior rooms are ideal. They’re insulated from outside temperature swings.
- Avoid kitchens and bathrooms. These rooms have high humidity.
- Never store film in direct sunlight. Light fades colours and degrades the emulsion.
If you live in a humid climate, consider a small dehumidifier in your storage area. Even dropping humidity from 50% to 40% makes a measurable difference in preservation.
The Cost of Digitising 8mm Film: What to Expect
Digitisation pricing varies widely depending on film length, format, and service quality.
What affects the cost:
- Film format (16mm costs more than Super 8)
- Film condition (heavily degraded film takes longer to process)
- Restoration options (colour correction, splicing repair)
- Turnaround speed (rush orders cost more)
- Resolution level (4K scanning costs more than 1080p)
Budget for digitisation as an investment in preservation, not an expense. The cost of professional digitisation is small compared to the value of irreplaceable family memories.
Your Step-by-Step Plan to Save Old Film Reels
Here’s how to digitise your film reels and preserve your memories.
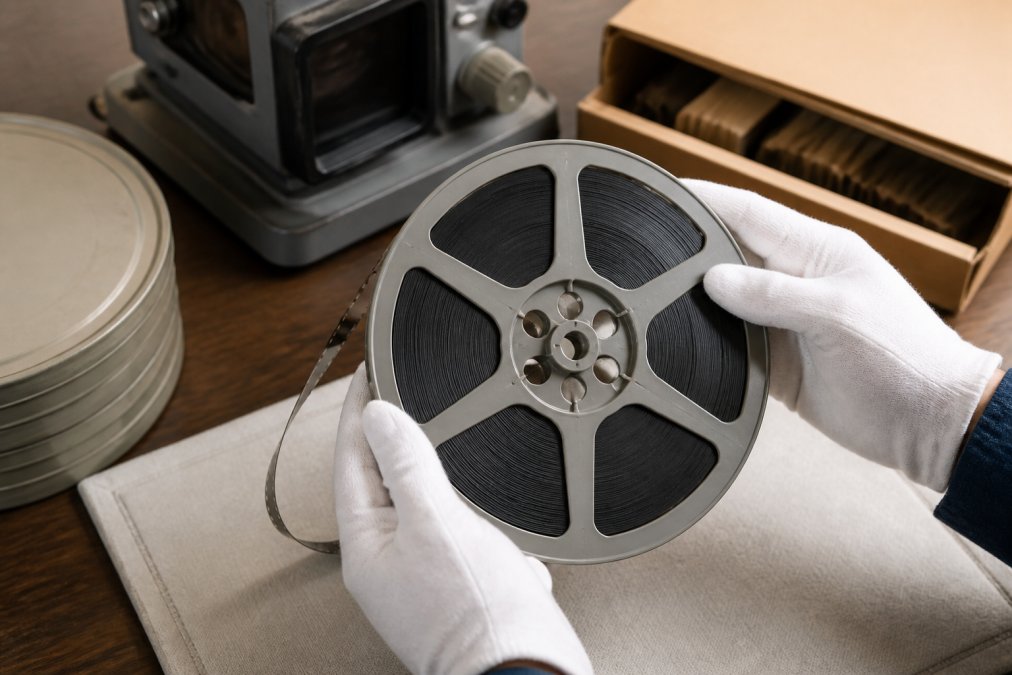
Step 1: Assess Your Collection
Step 2: Clean the Film Gently
Step 3: Choose Your Digitisation Method
Step 5: Digitise Your Film
Step 6: Organize Your Digital Files
Step 7: Back Up Your Files
Step 8: Store the Original Film
Conclusion
Your film reels are fading. Waiting another year means risking permanent loss of memories you can never recreate. The best way to save old film reels is to digitise them now, while recovery is still possible.
Frequently Asked Questions
How can I tell if my old film reels are damaged or degraded?
Look for vinegar syndrome symptoms: a strong vinegar smell, brittleness, discolouration, or sticky residue on the film. Check for physical damage like tears, splicing breaks, or warping. If the film feels brittle when gently flexed or shows mould growth, degradation is advanced. Store test footage in a cool, dry place and examine it under light for colour shifts or emulsion separation. If you notice any of these signs, digitisation should be a priority to preserve what remains.
What’s the difference between 8mm, Super 8, and 16mm film?
8mm and Super 8 are the most common home movie formats. 8mm uses the full frame width for sprocket holes, while Super 8 has smaller sprockets, allowing more picture area per frame and better image quality. 16mm is a professional or semi-professional format with larger frames and superior clarity. The reel size and playback equipment differ for each format. When saving old film reels, identifying your format first ensures you choose compatible digitisation equipment or services.
How much does it cost to digitise 8mm film?
Digitisation costs vary based on reel length, condition, and service type. Professional services typically charge per reel or per foot of film. DIY equipment like the Wolverine MovieMaker-Pro or Kodak Reels Digitiser costs around $550-$600 AUD upfront but requires your time and effort. Professional services handle cleaning, restoration, and archival-quality output. For budget-conscious families, professional services can offer peace of mind without equipment investment. Contact your chosen service for a detailed quote based on your collection size.
Can I digitise film reels at home, or should I use a professional service?
Home digitisation is possible with equipment like frame-by-frame scanners, giving you control and saving ongoing fees. However, it requires technical skill, time, and careful handling to avoid damaging irreplaceable footage. Professional services reduce damage risk, offer restoration options, and deliver archival-quality results faster. For fragile, high-value, or large collections, professional digitisation is safer. For smaller collections and those comfortable with technology, quality DIY equipment can work well. Consider your collection size, film condition, and comfort level with equipment before deciding.