
Table of Contents
- Understanding Video Formats for Digitised Home Movies
- Best Resolution for Digitising VHS and Legacy Formats
- MP4 vs MOV for Home Video Preservation
- Is Digitising Old Family Film Reels Worth It?
- Bitrate, Colour Depth, and Data Integrity
- Storage, Backup, and Metadata for Long-Term Preservation
- DIY vs Professional Digitisation: What Works Best
- Conclusion
Last Updated: August 29, 2026
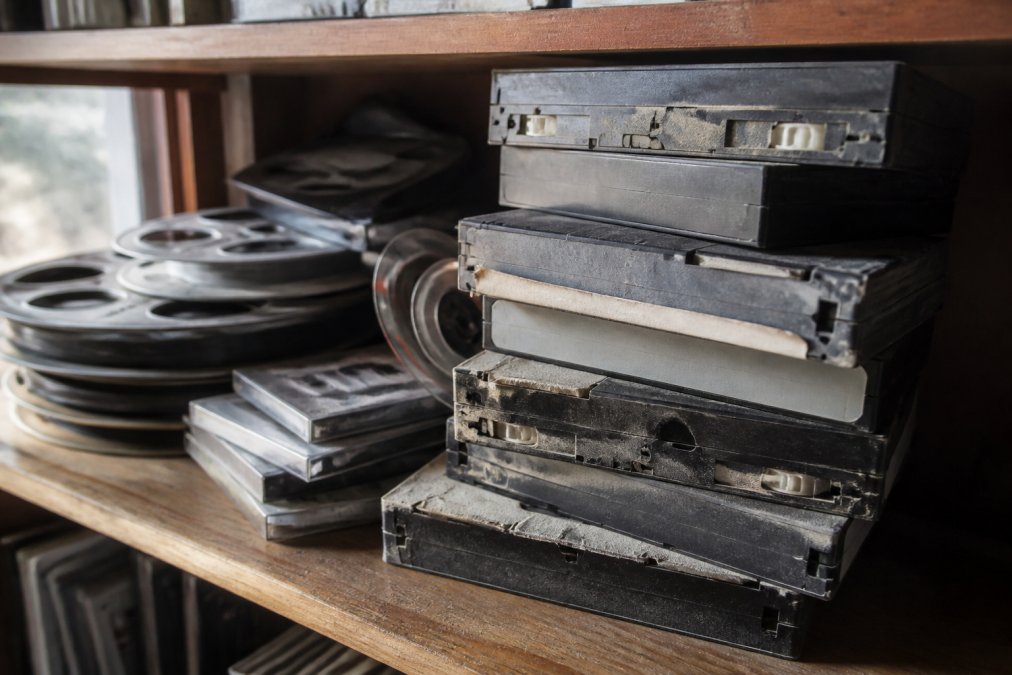
Understanding Video Formats for Digitised Home Movies
When preserving family memories, your format choice determines whether videos remain accessible for decades or become obsolete within years. This guide from Showbiz Video Productions covers the critical decisions you’ll face when digitising home movies, from selecting the right codec to understanding the trade-offs between archival quality and everyday playback.
The best format balances three competing demands: long-term preservation, device compatibility, and file size. Most families don’t realise that the format choice made during digitisation shapes what their grandchildren will be able to watch.
What Makes a Format Suitable for Home Movie Preservation
A suitable format must satisfy three criteria: long-term file integrity (surviving decades without data degradation), playback on devices your family owns today and tomorrow, and efficient compression without discarding visual information you’ll want later. Most people focus only on playback compatibility and ignore preservation and quality, the wrong starting question.
File Containers vs Codecs: What You Need to Know
A file format consists of two separate things: a container and a codec. The file container (MP4, MOV, AVI) is the wrapper holding video, audio, and metadata. The codec (H.264, H.265) is the compression algorithm determining how much visual information gets discarded and how much storage space the file requires. Two MP4 files can use different codecs and have vastly different quality and file sizes. The container determines device compatibility; the codec determines what you’re actually preserving.
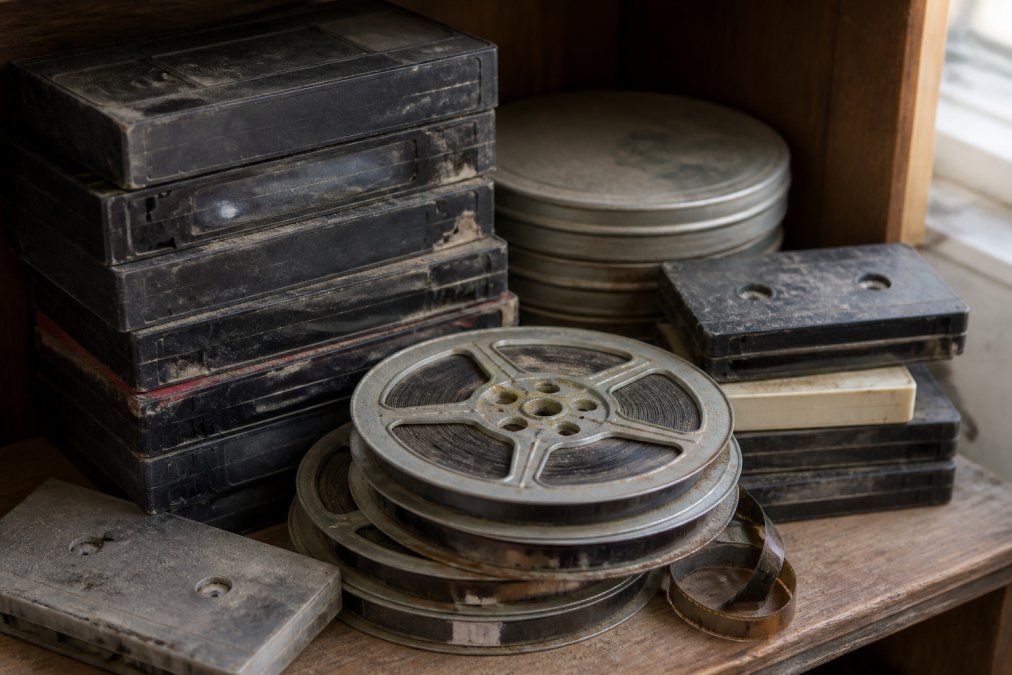
Best Resolution for Digitising VHS and Legacy Formats
The resolution you choose during digitisation is the absolute ceiling for quality later. You cannot add detail that wasn’t captured.
Resolution Standards and Source Quality
VHS tape quality maxes out around 480 lines of vertical resolution (720×480 pixels). Digitising VHS at 1080p doesn’t add detail; it stretches the fuzzy image across more pixels. Match your digitisation resolution to your source material’s actual quality: VHS at 480p or 720p maximum, Standard 8mm at 1080p, Super 8mm at 2K or 4K. Over-digitising creates massive files without visible benefit; under-digitising throws away recoverable detail.
Frame Rate, Aspect Ratio, and Interlacing Considerations
Match your digitisation frame rate to the original: NTSC video at 29.97 fps, PAL at 25 fps, film at 24 fps (itu.int). Digitising at a different rate creates artifacts and stuttering. Preserve the original aspect ratio (standard VHS is 4:3, some camcorders shot 16:9) to avoid cropping or black bars. Professional digitisation deinterlaces old video, eliminating flicker and improving clarity by converting interlaced fields into progressive full frames.
MP4 vs MOV for Home Video Preservation
When choosing between MP4 and MOV, you’re choosing between universal compatibility and professional flexibility.
MP4: Compatibility and Playback Across Devices
MP4 is the industry standard for consumer video. Every smartphone, tablet, smart TV, and web browser plays MP4 files without fuss. MP4 uses H.264 compression by default, balancing quality and file size effectively. A two-hour home movie typically runs 2-4 GB. The downside: H.264 is lossy compression, discarding information during encoding. For casual viewing and family sharing, this matters little.
MOV: Professional Editing and Long-Term Archival
MOV can hold lossless or visually lossless compression (ProRes, DNxHD), preserving far more detail than H.264. However, MOV is less universal, some older devices and Android phones struggle with it. A two-hour MOV in ProRes runs 50-100 GB or more. Unless you’re a video editor planning significant post-production work, the storage burden and compatibility headaches outweigh the benefits.
Showbiz Video Productions typically delivers digitised home movies in MP4 format because it balances accessibility with quality for typical family needs. Professional services can accommodate different formats for specific editing or archival purposes upon request.
Is Digitising Old Family Film Reels Worth It?
The honest answer: yes, but urgently. The decision isn’t whether to digitise, it’s when.
Tape Degradation and the Cost of Delay
Magnetic tape degrades predictably. VHS tapes lose colour information within 10-15 years of storage; after 20 years, the tape becomes brittle and prone to snapping (loc.gov). Film reels suffer acetate degradation (vinegar syndrome), a chemical breakdown that destroys the image irreversibly. Degradation isn’t linear, tapes stored in hot attics degrade faster than those in cool closets, but all magnetic media eventually fails. The longer you wait, the more information is already lost before digitisation begins.
Professional digitisation can sometimes recover footage from degraded tapes using specialized equipment. But recovery is expensive and not guaranteed. Prevention, digitising now while material is still readable, is vastly cheaper than attempted rescue later.
Archival Quality vs Playback Quality: Finding Your Balance
Archival-quality digitisation produces enormous files expensive to store and backup. A VHS tape digitised to archival standards (1080p, ProRes codec) creates files around 100 GB per hour. Playback-quality digitisation creates smaller, shareable files using efficient lossy compression (H.264), with the same VHS tape becoming 2-3 GB per hour. You lose some detail, but the loss is invisible to most viewers on most screens.
Many families choose a hybrid approach: digitise to playback quality for everyday viewing and family sharing, then store a separate archival copy using lossless compression. This gives you accessible files for immediate use and a preservation backup if you need to re-edit or re-extract material later. The cost of delay isn’t just technical, every year you postpone digitisation, the risk of permanent loss increases.
Bitrate, Colour Depth, and Data Integrity
Bitrate and colour depth determine how much detail your digitised video preserves and how vulnerable it is to long-term degradation.
Choosing the Right Bitrate for Your Needs
Bitrate is the amount of data encoded per second of video, measured in megabits per second (Mbps). For H.264 compression, 8-12 Mbps produces visually excellent results for home video on standard displays, the sweet spot for most families (peer-reviewed research). A two-hour tape at 10 Mbps creates a 9 GB file. Bitrates below 6 Mbps show visible compression artifacts; above 15 Mbps produce diminishing returns on standard-definition sources like VHS.
Colour depth, how many colour values are encoded per pixel, is equally important. Standard video uses 8-bit colour (256 levels per channel, roughly 16 million colours). For archival digitisation, 10-bit colour (1,024 levels per channel) preserves smoother gradations and is more forgiving during post-production. For playback-only digitisation, 8-bit is sufficient.
Protecting Against Bit Rot and File Degradation
Bit rot is the slow, silent corruption of digital files over time as storage media age. Protection requires redundancy and monitoring. Store your digitised files in at least two separate physical locations using different media types (external hard drive plus cloud backup). Periodically verify file integrity using checksums or hashing to detect corruption before it spreads.
Professional digitisation services typically deliver files on multiple media to protect against single-point failure. When you receive your digitised collection, create additional backups immediately rather than relying on a single external hard drive.
Storage, Backup, and Metadata for Long-Term Preservation
Digitisation is only half the battle. Keeping files accessible and uncorrupted for decades requires deliberate strategy.
External Hard Drives, Cloud Backup, and Redundancy
External hard drives are the most affordable storage for large video collections. A 10 TB drive costs under $300 and holds roughly 50-100 hours of digitised home video. But hard drives fail inevitably.
The 3-2-1 backup rule applies: keep three copies of your files, on two different types of media, with one copy stored offsite. This might mean your original files on a local hard drive, a backup copy on a second external hard drive in a different location, and a third copy in cloud storage (Dropbox, Google Drive, or a dedicated archival service).
Cloud backup adds redundancy and offsite protection against physical disaster. However, cloud storage costs accumulate, a 1 TB annual subscription runs $100-200 per year. Many families use a hybrid: local hard drives for active access, cloud storage for critical irreplaceable footage. Automated backup solutions are more reliable than manual backup schedules.
Tagging and Metadata: Making Your Files Discoverable
A digitised video file is useless if you can’t find it. Metadata determines whether your collection is searchable or just a pile of numbered files. Basic metadata includes filename, date, and duration. Better metadata includes location, people, and brief descriptions. Excellent metadata includes searchable tags and keywords.
Rename files descriptively ("1998 Christmas Day at Grandma’s House" instead of "tape_001.mp4"). Add tags in your media player or file management system. Write brief descriptions of significant footage. This effort pays dividends, years later, searchable metadata lets you locate footage in seconds rather than scrolling through dozens of cryptic filenames.
DIY vs Professional Digitisation: What Works Best
The choice depends on your equipment, technical skill, time availability, and how much you trust your own hands with irreplaceable media.
When to Digitise at Home: Equipment and Limitations
Home digitisation requires a video capture card (USB or PCIe), appropriate cables (RCA, S-Video, or FireWire), and video editing software. Consumer-grade capture cards (under $200) work adequately for VHS but often introduce artifacts or colour shifts. Professional-grade cards ($500-2,000) produce better results but require more technical knowledge.
The real limitation is time. Digitising a single VHS tape takes 2-3 hours of active monitoring. A collection of 20 tapes represents 40-60 hours of work. There’s also risk: equipment malfunction mid-capture can corrupt files, misconfigured settings produce poor quality you don’t notice until later, and tape snapping during capture damages irreplaceable media with no backup.
DIY digitisation makes sense for small collections (fewer than 10 tapes) with technical confidence and available time. For your most precious memories, the risk-to-reward ratio favours professional service.
Why Professional Services Protect Your Irreplaceable Media
Professional digitisation services have invested in equipment specifically designed to handle aging media safely. Technicians who’ve processed thousands of tapes know which tapes are on the verge of snapping and how to digitise them without damage. They have backup equipment if something fails mid-capture.
Professional capture equipment produces better colour accuracy, sharper images, and fewer artifacts than consumer gear. Professional digitisation software includes error detection and correction. If a tape has degraded sections, professionals can sometimes recover or interpolate missing data better than consumer software.
Your tapes are handled with care during the process. Showbiz Video Productions offers same-day service for most jobs, meaning your tapes spend minimal time in transit or storage. You get your digitised files on USB, external hard drive, or cloud storage, with the originals returned safely. For most families, this service cost is worth avoiding the risk and time investment of DIY digitisation.
Your family’s memories deserve preservation that lasts. The format you choose, the resolution you digitise at, and the backup strategy you implement determine whether your videos remain accessible for your children and grandchildren. Showbiz Video Productions has spent over 20 years perfecting this process, handling everything from standard VHS tapes to rare film formats with professional-grade equipment and meticulous care. Rather than risk your irreplaceable media to DIY digitisation or delay the process until degradation accelerates, contact Showbiz Video Productions for a quote and preserve your memories properly. Same-day service is available for most collections, ensuring your precious footage is safely digitised and returned to you with peace of mind.
Frequently Asked Questions
Q: What is the best format for digitised home movies?
A: MP4 is the industry standard for home movie digitisation because it plays on virtually all devices, TVs, computers, tablets, and smartphones. However, the best format depends on your needs. If you plan to edit or archive professionally, MOV offers better quality and editing flexibility. For long-term preservation, use a lossless or high-bitrate format alongside your playback copy. Always store metadata (dates, names, locations) with your files to keep memories organised and searchable for future generations.
Q: What is the best resolution for digitising VHS tapes?
A: VHS source material is limited to approximately 240-250 lines of vertical resolution, so digitising at 720×576 pixels (PAL standard) or 720×480 pixels (NTSC standard) captures the original quality without artificial upscaling. Avoid 4K upscaling, it creates a false sense of detail without recovering lost information. Stick to the native resolution of your source format; for film reels, higher resolutions (up to 2K or 4K) are justified because film contains more detail than VHS tape.
Q: Should I choose MP4 or MOV for long-term home video preservation?
A: MP4 is better for playback and sharing across devices; MOV is better for editing and archival. The ideal approach is to create both: digitise to MOV (or a lossless codec) as your master archive, then generate an MP4 version for everyday viewing. This two-tier strategy protects your original quality while ensuring accessibility. Store the master file on external hard drives with cloud backup to guard against bit rot and accidental loss.
Q: Is it really worth digitising old family film reels and VHS tapes?
A: Yes, absolutely. Magnetic media like VHS tape degrades predictably, within 10-20 years, playback quality drops significantly. Film reels suffer from vinegar syndrome and brittleness. Once degraded, the content is lost forever. Digitisation costs far less than losing irreplaceable memories. Professional digitisation services use video capture cards and archival-grade equipment to extract every detail before the source deteriorates further. The sooner you digitise, the better the quality you'll preserve.
Q: What bitrate should I use when digitising home movies?
A: For playback (MP4), 6-12 Mbps bitrate delivers good quality on most devices. For archival masters, use 15-25 Mbps or higher to preserve maximum detail and future-proof your files. Higher bitrate means larger files but better quality and more flexibility if you later want to edit or create different versions. Consider your storage capacity and backup strategy when choosing bitrate; professional services typically recommend bitrate suited to your source format and intended use.
Q: How do I protect digitised videos from bit rot and file degradation?
A: Bit rot occurs when stored data silently corrupts over time. Protect your files by storing them on multiple devices (external hard drives, cloud backup, NAS drives), not just one location. Use checksums or file verification tools to periodically verify file integrity. Store files in stable, archival-grade formats (H.264 or H.265 codecs in robust containers like MOV or MP4). Keep detailed metadata and backup copies in geographically separate locations. Professional digitisation services often provide cloud backup options as part of their delivery.
Q: Should I digitise home movies myself or use a professional service?
A: DIY digitisation requires a video capture card, software, and technical knowledge; results depend entirely on your equipment and skill. Professional services use calibrated, professional-grade capture equipment, handle fragile media with care, and deliver files in optimised formats with proper metadata. They also protect irreplaceable originals during the process, if something goes wrong with DIY, you may damage the only copy. For treasured family memories, professional digitisation offers peace of mind and superior quality, especially for rare or degraded formats.
This article was written using GrandRanker