
Table of Contents
- Can Old Film Reels Be Restored?
- Signs of Film Degradation: What to Look For
- How to Clean Old Film Reels: A Practical Approach
- Identifying Your Film Type: 8mm, 16mm, or Super 8
- DIY vs. Professional Restoration: Risk Assessment
- Cost of 8mm Film Transfer and Digitisation Options
- Long-Term Digital Archiving: Preserving Your Restored Films
- When to Seek Professional Help
Last Updated: August 28, 2026
Can Old Film Reels Be Restored?
Yes, old film reels can be restored. The real question isn’t whether restoration is possible, but whether it’s worth doing and when to call in professionals versus attempting it yourself. Many families discover boxes of 8mm, 16mm, or Super 8 film gathering dust in attics and garages, assuming the footage is lost forever. It isn’t. With the right approach, you can recover those memories and preserve them for generations.
At Showbiz Video Productions, we’ve spent over 20 years helping families and individuals recover degraded film collections. The process ranges from simple cleaning steps you can do at home to professional digitisation that requires specialist equipment. This guide walks you through the restoration process step by step, from spotting the first signs of damage to choosing between DIY cleaning and professional transfer.
Signs of Film Degradation: What to Look For
Before you attempt any restoration work, you need to understand what you’re looking at. Film degradation happens in predictable ways, and catching it early makes a real difference in what can be salvaged.
The most visible signs appear on the film itself. Brittleness is often the first warning: if the film snaps or cracks easily, you’re dealing with advanced degradation. Discolouration ranging from amber to brown indicates chemical breakdown. Mold appears as visible spots or a hazy film across the surface and requires careful handling to prevent spread. Fading is particularly common in colour film, where reds and blues disappear first, leaving a pinkish or yellowish cast. Warped, cracked, or severely rusted reels can damage film during playback or transfer.
Vinegar Syndrome and Other Common Issues
Vinegar syndrome is the most serious degradation threat for acetate-based film stock. As the film ages, acetic acid forms within the acetate base, creating a distinctive vinegar smell (peer-reviewed research). This is the chemical signature of active decay. Once vinegar syndrome starts, it accelerates, and the process is essentially irreversible. If you smell vinegar when you open a film canister, you’re looking at material that needs immediate digitisation before it’s lost entirely.
Beyond vinegar syndrome, several other degradation patterns appear regularly. Lamination occurs when the film’s layers begin to separate from each other. Shrinkage happens as the film loses moisture over decades, causing it to curl and become difficult to thread through projectors or scanning equipment. Brittleness develops when plasticizers leach out of the film base, leaving it dry and prone to cracking. Each of these issues narrows your options and is why early identification and proper storage matter so much.
How to Clean Old Film Reels: A Practical Approach
If your film shows early signs of degradation but isn’t yet brittle or mouldy, gentle cleaning can improve its condition before transfer. This isn’t a substitute for professional digitisation, but it can remove surface dust and debris that might interfere with scanning.
The golden rule: move slowly and use minimal pressure. You’re removing surface contaminants, not trying to restore the film chemically.
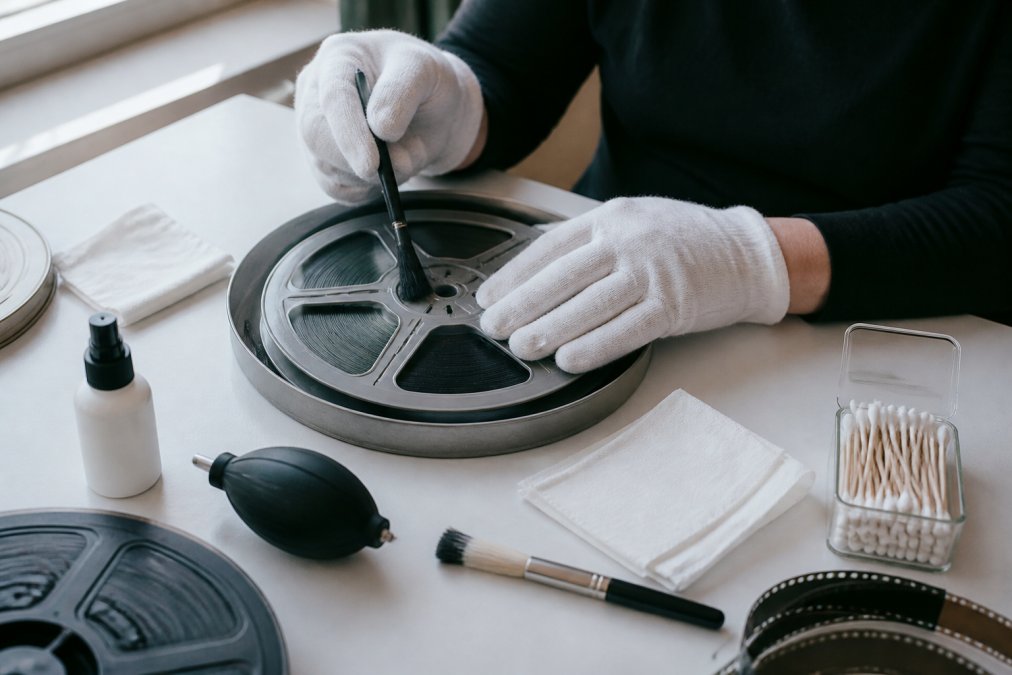
Step-by-Step Cleaning Process
Step 1: Inspect and Assess (Time: 5 minutes)
Unwind a small section of film in a clean, dust-free space. Look for mould, vinegar smell, brittleness, or lamination. If you find any of these, stop. Don’t attempt cleaning; the film needs professional handling.
Step 2: Prepare Your Workspace (Time: 10 minutes)
Set up on a clean, flat surface away from direct sunlight and moisture. Use archival-quality materials only: cotton gloves, soft brushes, and lint-free cloths. Never use regular paper towels, which leave fibres on the film.
Step 3: Clean the Reel (Time: 10 minutes)
Use a soft brush to remove dust and debris from the reel itself. For rust spots, use a very gentle approach with a soft cloth, but don’t scrub.
Step 4: Clean the Film Surface (Time: 20-30 minutes)
Gently unwind the film onto a clean surface. Using a soft-bristled archival brush, lightly brush along the film’s length, never across the sprocket holes. For stubborn debris, use a lint-free cloth with minimal pressure. Never use liquids unless you have professional-grade film cleaning solution.
Step 5: Rewind Carefully (Time: 15 minutes)
Wind the film back onto the reel slowly and evenly. If the film resists or feels brittle, stop immediately.
Tools and Materials You’ll Need
- White cotton gloves, essential for handling film without transferring skin oils
- Soft-bristled archival brush, specifically designed for film
- Lint-free cloths, microfibre or archival cotton only
- Clean, flat work surface, ideally a light table
- Film canisters or boxes, acid-free storage
- Reel cleaner (optional), a soft-bristled tool designed for film reels
Identifying Your Film Type: 8mm, 16mm, or Super 8
Different film formats require different handling and transfer approaches.
8mm film measures exactly 8 millimetres across and was common from the 1930s through the 1970s. It has a single row of sprocket holes running along one edge.
Super 8 emerged in 1965 and became the dominant home movie format through the 1980s. It’s also 8 millimetres wide, but the sprocket holes are smaller, leaving a larger image area. Super 8 reels are often marked clearly, and the film typically looks slightly brighter than standard 8mm.
16mm film is noticeably wider and was used for both professional and semi-professional home movies. It has larger sprocket holes than either 8mm format.
To identify your film, measure the width or look at the reel markings. Standard 8mm tends to be older and more degraded, whilst Super 8 is typically from the 1970s-1990s and often in better condition.
DIY vs. Professional Restoration: Risk Assessment
The choice between cleaning film yourself and sending it to professionals depends on three factors: the film’s condition, the footage’s irreplaceability, and your tolerance for risk.
DIY cleaning makes sense only for film in good structural condition with no brittleness, mould, vinegar smell, or visible lamination. If your film passes these tests and you have access to proper archival materials, gentle surface cleaning can remove dust without significant risk.
Professional restoration is the safer choice for any film showing signs of active degradation. Professionals have equipment that detects issues invisible to the naked eye and work in controlled environments that prevent further damage. Most importantly, they can digitise damaged film that home equipment cannot read.
If the footage is genuinely irreplaceable, family memories, historical documentation, one-of-a-kind events, send it to professionals. The cost difference between DIY and professional transfer is usually modest relative to the value of what you’re preserving.
Cost of 8mm Film Transfer and Digitisation Options
Transfer costs vary widely depending on film condition, format, and the service provider’s equipment quality.
Film condition is the primary cost driver. Clean, structurally sound film transfers faster than degraded material. Mouldy film requires extra handling precautions. Warped or shrunken film demands slower scanning speeds. Film length matters too; longer reels take more time to digitise, but per-foot costs often decrease with volume.
Output format and resolution affect cost. Basic digitisation produces standard-definition files suitable for viewing on modern devices. High-resolution scanning captures more detail and produces larger files. Colour correction, restoring faded colours to something closer to the original, adds cost but significantly improves viewing experience for colour film.
At Showbiz Video Productions, we offer straightforward rates based on what you’re actually transferring. Many customers are surprised by how affordable professional digitisation is when they compare it to the cost of replacing lost memories.
Long-Term Digital Archiving: Preserving Your Restored Films
Digitisation isn’t the end of preservation; it’s a transition to a new format that requires its own maintenance strategy.
The first rule of digital archiving is redundancy. A single copy on a single hard drive is one failure away from total loss. Professional archivists follow the "3-2-1 rule": three copies of your files, stored on two different media types, with one copy in a separate physical location.
Practical implementation: keep one copy on an external hard drive at home, one on cloud storage, and consider a third copy on another physical drive stored with a trusted family member or in a safety deposit box.
File format matters for long-term accessibility. MP4 and MOV files are widely supported and unlikely to become obsolete. Avoid proprietary formats specific to particular software. Store files with descriptive names and metadata so future generations understand what they’re watching.
Hard drives typically last 3-5 years before failure becomes likely (peer-reviewed research). Plan to refresh physical storage every 5 years. Keep drives in cool, dry conditions, ideally 15-25°C with relative humidity between 30-50%. Basements and attics are terrible storage locations; climate-controlled closets are much better.
When to Seek Professional Help
Some film degradation is beyond home repair, and attempting DIY solutions causes more damage than it prevents.
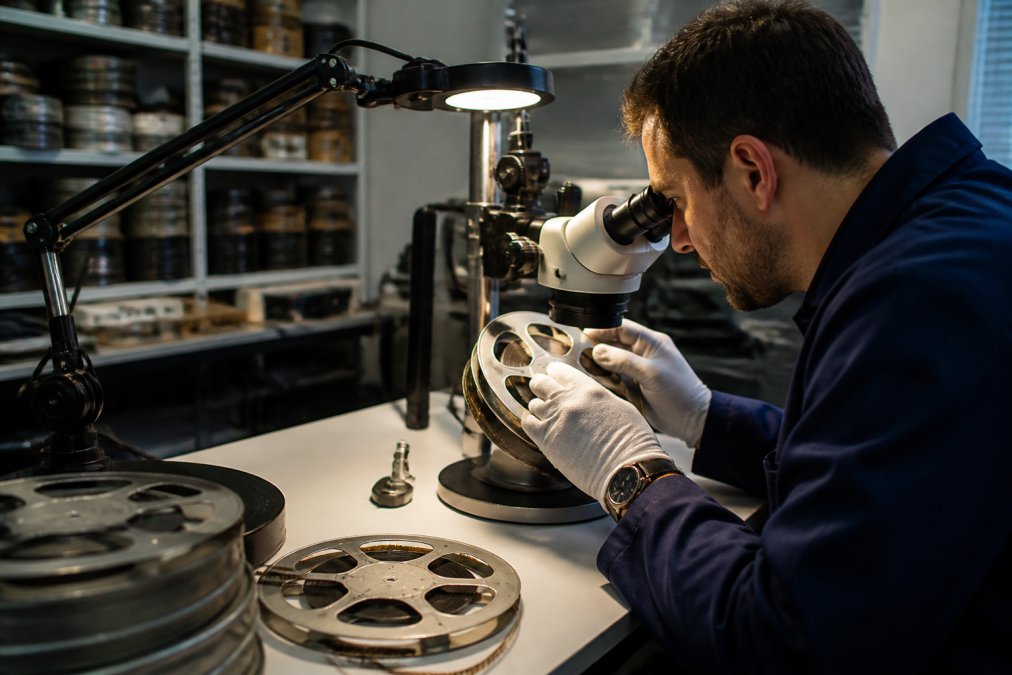
Seek professional help immediately if:
Your film shows visible mould. Professionals have containment protocols and specialised cleaning equipment that home setups lack.
You detect vinegar syndrome, that distinctive sour smell. Active chemical degradation requires professional digitisation before the film becomes unreadable.
The film is severely warped, shrunken, or laminated. These conditions require specialised scanning equipment that adjusts for film distortion frame by frame.
The film shows brittleness or cracks. Handling brittle film risks breaking it into pieces. Professionals have equipment designed to handle it without additional damage.
You need high-quality output for professional use, archival, broadcast, or publication. Consumer-grade digitisation produces adequate home viewing files but lacks the resolution and colour accuracy required for professional applications.
Showbiz Video Productions handles all these scenarios regularly. Our professional-grade equipment and 20 years of experience mean we can recover footage from film that other services have rejected. Same-day turnaround for most jobs means you don’t have to wait weeks to recover your memories.
Restoring old film reels is entirely achievable, but success depends on understanding what you’re working with and matching your approach to the film’s condition. If you have film that needs digitising, Showbiz Video Productions handles everything from gentle cleaning through to high-resolution scanning and colour correction, with professional-grade equipment and transparent pricing. Get a quote today and discover what memories are waiting in those old reels.
Frequently Asked Questions
Can a 30-year-old roll of film still be restored?
Yes, film reels from 30 years ago can often be restored, though success depends on storage conditions and the extent of damage. Film stored in cool, dry environments with stable humidity tends to age better. Common issues like vinegar syndrome, brittleness, and mould can be addressed through professional cleaning and digitisation. However, severely degraded film, where the emulsion has flaked off or the base has become extremely brittle, may have limited restoration potential. A professional assessment can determine what’s salvageable and recommend the best approach for your specific reels.
What are the signs of film degradation I should watch for?
Common signs of film degradation include a vinegar-like smell (indicating vinegar syndrome in acetate film), visible mould or discolouration, brittleness or cracking when handled gently, faded or discoloured footage, and sticky or tacky film surfaces. You may also notice the film has become warped, laminated (where layers separate), or that the reel itself shows rust or corrosion. If you spot any of these signs, store the film in a cool place and avoid further handling until professional assessment can occur, as continued deterioration accelerates with poor storage conditions.
How much does it typically cost to transfer 8mm film to digital format?
The cost of 8mm film transfer depends on several factors: the length of film (measured in feet or minutes), the desired resolution and quality level, whether restoration work is needed, and turnaround time. Professional services generally charge per foot of film or per reel. Additional costs may apply if your film requires cleaning, splicing repairs, or colour correction before digitisation. For transparent pricing and a quote tailored to your specific reels, contact a professional service to discuss your requirements and budget.
Should I attempt DIY restoration or use a professional service?
DIY cleaning can work for minor dust and debris on film in good condition, but professional restoration is strongly recommended for film showing signs of significant degradation. Professionals have high-resolution scanning equipment, climate-controlled environments, and expertise in handling brittle, mouldy, or chemically unstable film safely. Attempting to clean severely damaged film yourself risks permanent loss of footage. If your film shows vinegar syndrome, mould, brittleness, or fading, professional help protects your irreplaceable memories and ensures the highest-quality digital output.
This article was written using GrandRanker