
Table of Contents
- Why Convert Cassette Tapes to Digital Audio
- Hardware Requirements: USB Converters and Tape Decks
- Best Cassette to Digital Converter Options
- How to Digitise Audio Tapes at Home
- Supported Digital File Formats for Audio
- Cost of Digitising Cassette Tapes: DIY vs. Professional Services
- Common Mistakes to Avoid When Converting Cassettes
- Conclusion
Last Updated: August 25, 2026
Why Convert Cassette Tapes to Digital Audio
Cassette tapes degrade over time due to oxidation, humidity exposure, and repeated playback. Once deteriorated, the content is lost forever. Converting to digital audio is about preservation: digital files stored on hard drives or cloud services don’t degrade like magnetic media and are infinitely reproducible without quality loss.
Showbiz Video Productions has helped countless families preserve irreplaceable recordings, from voicemails of deceased relatives to home recordings of children learning to speak. Tapes from the 1980s and 1990s are especially vulnerable now, sitting in attics where temperature and humidity fluctuate seasonally. Beyond preservation, digitisation enables editing, noise removal, and playback on modern devices without hunting for a working tape deck.
Hardware Requirements: USB Converters and Tape Decks
Converting cassette tapes requires either a USB cassette converter or a traditional tape deck paired with an audio interface. Your choice depends on budget, tape volume, and desired audio quality.
USB Cassette Converters
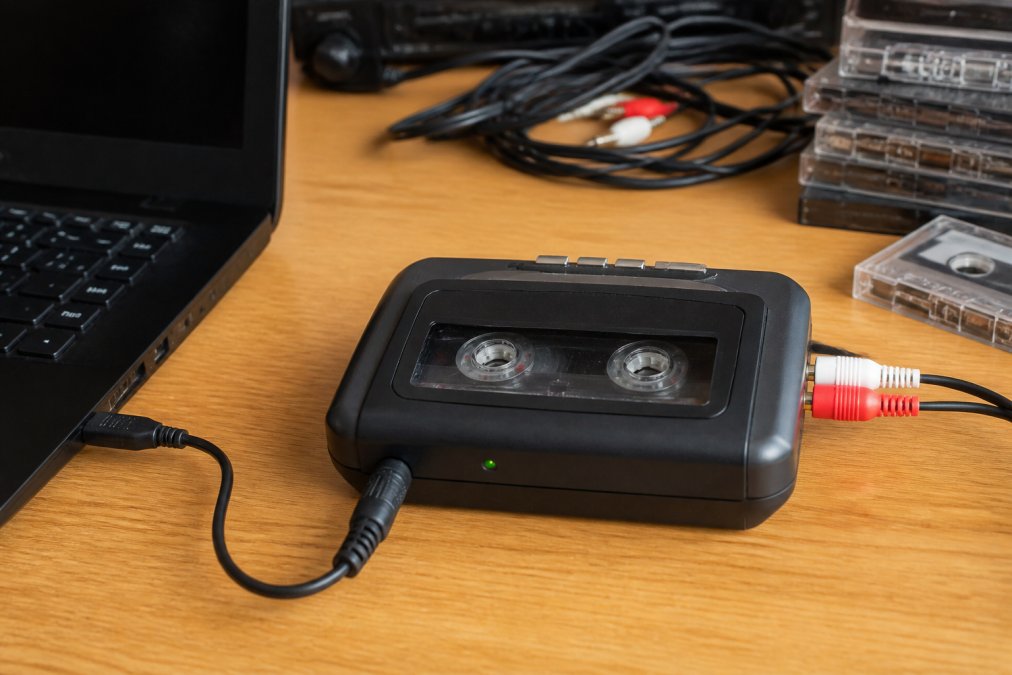
USB converters are the simplest entry point. Insert a cassette, press play, and the device sends audio directly to your computer via USB. Most are plug-and-play with minimal technical knowledge required.
The trade-off is audio quality. USB converters use lower-quality playback heads and lack manual control over recording levels. If a tape has inconsistent levels, you’ll either get clipping on loud sections or inaudible quiet passages.
Traditional Tape Decks with Audio Interface
A tape deck paired with an audio interface gives vastly more control. You choose sampling rate (44.1 kHz, 48 kHz, or higher), bitrate, and input levels. You can monitor the signal in real time and adjust gain before recording.
This approach requires more equipment:
- A functioning tape deck (preferably serviced recently)
- An audio interface with RCA or 3.5mm inputs
- Audio cables
- Audio capture software
For anyone digitising 20+ tapes or recordings that matter deeply, this combination is worth the investment. The quality difference is noticeable, especially on well-recorded original cassettes.
Best Cassette to Digital Converter Options
For speed and simplicity, a USB converter handles the job. For audio quality, a tape deck with audio interface is better. Most people without existing audio equipment should consider tape volume and budget: a single USB converter costs less, but professional services often outweigh DIY costs for 50+ tapes.
Showbiz Video Productions offers professional-grade digitisation using equipment calibrated for cassette playback. Our team handles tape deck maintenance, level monitoring, and post-processing restoration. We digitise standard compact cassettes to microcassettes with same-day turnaround for smaller jobs.
For DIY work, focus on tape deck condition. An old deck that hasn’t been serviced produces poor results regardless of audio interface quality. A professional head cleaning and capstan service costs less than a new tape deck and dramatically improves playback quality.
How to Digitise Audio Tapes at Home
Converting cassette tapes at home requires careful planning and attention to detail.
Step 1: Prepare Your Equipment and Tapes
Verify your tape deck works properly by playing a test cassette. If it hasn’t been used in years, consider professional servicing (typically under $100), which prevents wasted digitisation time.
Inspect cassettes physically for broken reels, cracked cases, or tape spilling out. If stored in damp conditions, allow 24 hours acclimation before playing. Rewind each cassette fully before digitising to ensure even winding and reduce dropout risk.
Connect your equipment: tape deck to audio interface via RCA or 3.5mm cables, then interface to computer via USB. Test the connection by playing a tape and monitoring the signal in your audio capture software.
Step 2: Configure Your Audio Capture Software
Open your audio recording software (Audacity is free). Set recording parameters:
- Sampling rate: 44.1 kHz for music; 48 kHz acceptable
- Bit depth: 16-bit minimum; 24-bit if supported
- Format: WAV during recording (lossless)
- Input device: Select your audio interface
Set input level by playing a tape section at normal volume and adjusting gain so peaks reach around -6 dB. This prevents clipping while capturing adequate signal. Enable monitoring if your interface supports it to catch problems in real time.
Step 3: Record and Monitor Levels
Press record and start tape playback. Watch the level meter throughout. For longer cassettes, monitor periodically to catch speed fluctuations or connection drops early.
When the tape ends, stop recording and review a few seconds to confirm proper capture.
Step 4: Post-Processing and Audio Restoration
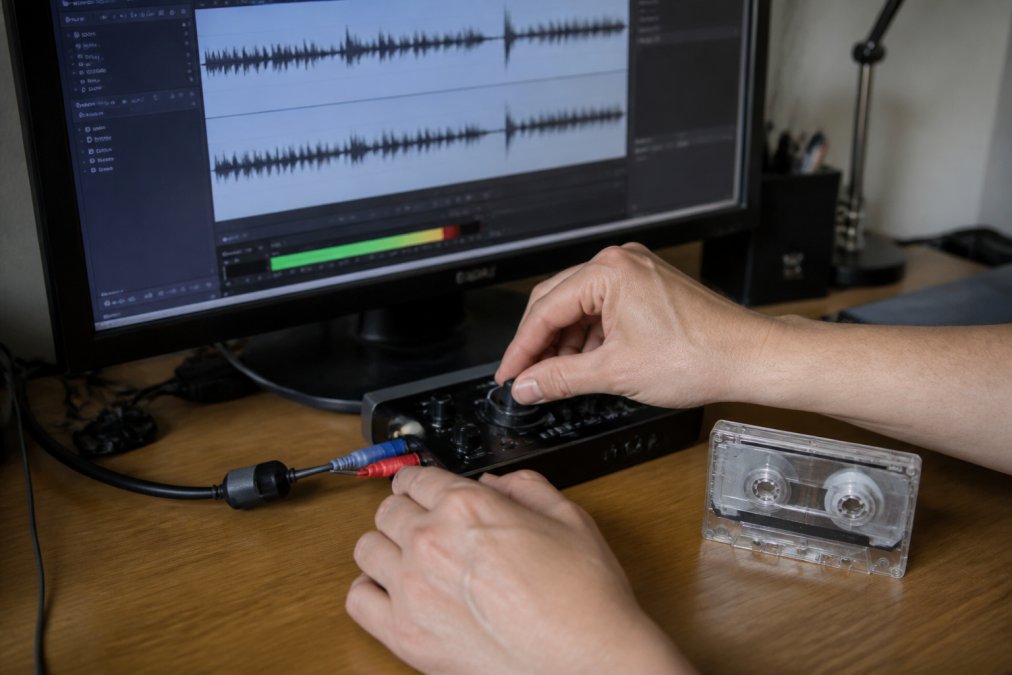
Raw recordings often contain background noise, hum, or distortion. Use noise reduction tools to remove consistent hiss. Audacity’s built-in filter: select a quiet section, use "Get Noise Profile," then apply noise reduction to the full track. Start conservatively, aggressive reduction removes detail and sounds unnatural.
Normalisation adjusts overall level so the loudest peak reaches 0 dB without clipping. Remove clicks and pops using a de-clicker tool if the tape has physical damage, but be cautious as aggressive de-clicking removes detail.
Step 5: Metadata Tagging and File Export
Add metadata tags before exporting:
- Track title
- Artist or speaker name
- Album or cassette label
- Date recorded (if known)
- Genre or content type
Export to your chosen format. MP3 at 192 kbps balances file size and quality for most recordings. WAV preserves maximum quality but produces larger files.
Create backups immediately on external hard drive and cloud storage. A single copy is almost as risky as keeping the original cassette.
Supported Digital File Formats for Audio
MP3 is most compatible. Nearly every device supports it. A 60-minute cassette becomes roughly 40-50 MB at 192 kbps. Lossy compression discards data, but 192 kbps MP3 is transparent for spoken word and most music.
WAV is lossless. No data is discarded, preserving audio exactly as recorded. A 60-minute cassette becomes 600+ MB. WAV is ideal for archival and future editing.
FLAC (Free Lossless Audio Codec) is increasingly popular for archival. It’s lossless like WAV but compresses to roughly 50% of WAV file size, supported by most modern media players.
For most projects, MP3 is practical for everyday listening, and WAV or FLAC is recommended for long-term archival. Store both: MP3 for playback on phones, WAV or FLAC as your master archive.
Cost of Digitising Cassette Tapes: DIY vs. Professional Services
DIY Conversion Costs
A basic USB cassette converter costs $20-$60 AUD. A tape deck and audio interface combination costs $250-$600 total. Audio editing software is often free (Audacity).
The hidden cost is expertise. Your first 10-15 digitisations will likely be lower quality than later ones. For irreplaceable recordings, the risk of poor results is significant.
Professional Conversion Services
Professional services handle everything: equipment maintenance, level monitoring, noise reduction, metadata tagging, and file delivery. Pricing typically depends on quantity, dates, and delivery.
For a handful of cassettes with sentimental importance, professional services are worth the cost. For large collections of non-critical recordings, DIY is economical if you’re willing to invest time learning.
Common Mistakes to Avoid When Converting Cassettes
Not cleaning the tape deck. Oxide buildup reduces audio quality and can damage tapes. Use a cotton swab lightly dampened with isopropyl alcohol on the playback head.
Recording at incorrect levels. Clipping (distortion from recording too loud) is permanent. Recording too quietly captures background noise. Set input level so peaks hit around -6 dB.
Skipping noise reduction or applying it too aggressively. Mild noise reduction improves listenability. Extreme reduction makes recordings sound unnatural. Start conservatively.
Not backing up files immediately. Create backups on external drive and cloud storage as soon as digitisation is complete.
Choosing the wrong file format. MP3 is convenient but lossy. WAV or FLAC is better for long-term archival.
Digitising damaged tapes without inspection. A tape with visible damage can damage your tape deck. Have questionable tapes inspected professionally first.
Assuming old tape decks work without servicing. A deck unused for 20 years likely needs maintenance. Professional servicing costs less than replacing a damaged deck.
Conclusion
Converting cassette tapes to digital audio is essential for preserving irreplaceable recordings. Magnetic tape degrades predictably, and once lost, there’s no recovery. Whether you choose DIY digitisation or professional services, act now rather than waiting until tapes deteriorate beyond recovery.
Showbiz Video Productions brings over 20 years of experience to cassette digitisation. We maintain professional-grade equipment, handle audio restoration as standard, and offer same-day turnaround on most jobs. Our transparent pricing starts at just $6 per tape, and our 5-star Google rating reflects our commitment to handling your irreplaceable memories with care. Get a quote today and protect your family’s audio legacy for generations to come.
| Conversion Method | Equipment Cost | Time Per Tape | Audio Quality | Best For |
|---|---|---|---|---|
| USB Converter | $20-$60 | 5-10 minutes | Good | Small collections, casual listening |
| Tape Deck + Interface | $250-$600 | 10-20 minutes | Excellent | Large collections, quality-focused |
| Professional Service | $6-$15 per tape | None (handled by service) | Professional | Irreplaceable recordings, peace of mind |
External Sources
According to the National Archives of Australia, proper archival of audio recordings requires storage in stable temperature and humidity conditions to prevent magnetic tape degradation.
Research from the Australian Communications and Media Authority emphasises the importance of digitising legacy media formats before physical deterioration makes recovery impossible.
The International Association of Sound and Audiovisual Archives recommends professional digitisation for irreplaceable recordings, citing the technical expertise required for optimal audio restoration and preservation.
Frequently Asked Questions
What is the best way to convert cassette tapes to digital?
The best method depends on your priorities. For convenience, USB cassette converters offer simplicity but may sacrifice audio fidelity. For superior quality, connect a tape deck to an audio interface with proper RCA cables and recording software, allowing you to control sampling rates and bitrate. Professional services provide the highest quality, including audio restoration, noise reduction, and metadata tagging. Choose based on your budget, time availability, and how much audio restoration your tapes need.
How much does it cost to convert cassette tapes to digital?
DIY conversion costs vary. A basic USB cassette converter costs $30-$100, while a quality tape deck with audio interface runs $150-$500. Professional digitisation services typically charge per tape, with pricing depending on tape length, quantity, and restoration work required. Visit Showbiz Video Productions for transparent pricing and a free quote tailored to your collection.
Can I convert cassette tapes to digital at home without special equipment?
You can use a USB cassette converter, which requires only a computer and USB connection, no additional equipment needed. However, these converters often sacrifice audio quality and offer limited control over sampling rates and noise reduction. For better results, invest in a tape deck, audio interface, and recording software. This setup gives you control over bitrate, allows proper signal-to-noise ratio management, and enables post-processing like normalisation and track splitting.
What file format should I use when digitising cassette tapes?
WAV is the best format for archiving because it preserves full audio fidelity without compression. MP3 is ideal for everyday playback and sharing due to smaller file sizes. WMA offers good compression with reasonable quality. For long-term preservation, store master copies in WAV format and create MP3 versions for convenience. Ensure your chosen format is compatible with your playback devices and cloud storage solution for accessibility across modern devices.
This article was written using GrandRanker